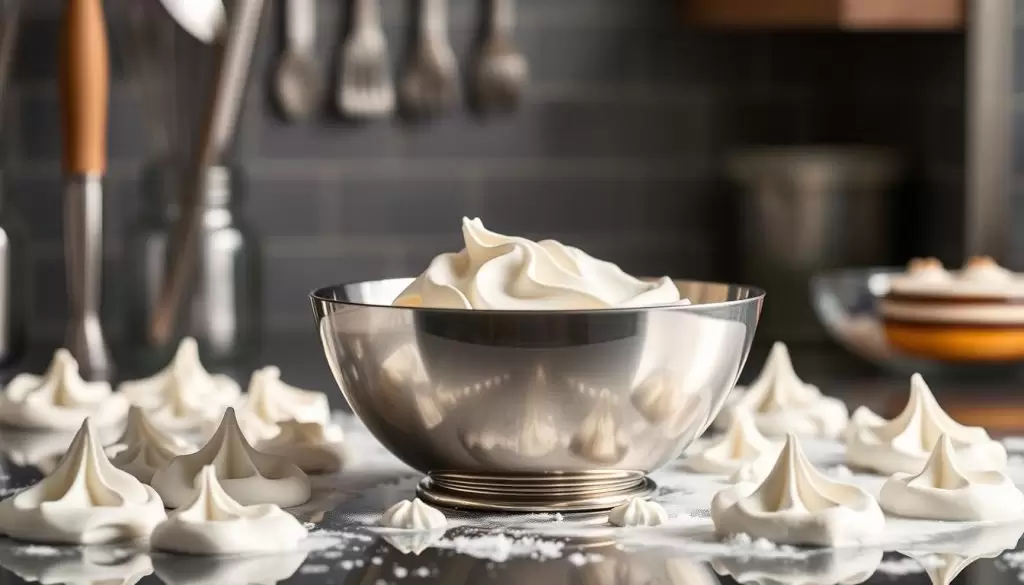
Whipped cream dispensers are a must-have tool for both home cooks and professional chefs. These devices transform liquid whipping cream into a light, airy texture with ease. The secret lies in the use of nitrous oxide (N₂O), which aerates the cream, creating that perfect pillowy consistency.
From filling the canister to shaking and dispensing, the process is straightforward. This guide will walk you through each step, ensuring you achieve flawless results every time. Whether you’re topping desserts or crafting cocktails, a cream dispenser is a versatile addition to your kitchen.
Safety and proper maintenance are also key. Learn how to charge and clean your whipped cream dispenser correctly to extend its lifespan. Ready to elevate your culinary creations? Let’s dive into the details!
Key Takeaways
- Whipped cream dispensers use nitrous oxide to create a light, airy texture.
- They are versatile tools for both sweet and savory dishes.
- Proper filling and shaking ensure consistent results.
- Cleaning and maintenance are essential for longevity.
- These dispensers are suitable for both home and professional kitchens.
Introduction to Whipped Cream Dispensers: A Quick Overview
A whipped cream dispenser is a game-changer for modern kitchens. This product simplifies the process of creating light, airy toppings for desserts, drinks, and more. Whether you’re a home cook or a professional chef, this tool is a must-have for achieving consistent results.
What is a Whipped Cream Dispenser?
A whipped cream dispenser is a device designed to transform heavy cream into a fluffy texture. It uses nitrous oxide (N₂O) to aerate the ingredient, creating a smooth and stable consistency. This product is perfect for topping cakes, decorating beverages, or adding flair to your culinary creations.
Key Components and Their Roles
Understanding the parts of a whipped cream dispenser is essential for proper use. Here’s a breakdown of the main components:
- Head: The dispenser head controls the flow of whipped cream. It’s where the magic happens, turning liquid cream into a fluffy topping.
- Holder: The charger holder securely houses the nitrous oxide cartridge, ensuring safe and efficient operation.
- Canister: This is where the cream and nitrous oxide mix. The canister is durable and designed to withstand pressure.
Each part plays a crucial role in the process. Proper assembly ensures the product works effectively and safely. For example, the head must be tightly secured to prevent leaks, while the holder should align correctly with the cartridge.
When using whipped cream dispensers, always follow the manufacturer’s guidelines. This includes filling the canister with cold cream and shaking it vigorously after charging. These steps ensure the best results every time.
Understanding How do whipped cream dispensers work?
The magic behind achieving that perfect fluffy topping lies in the science of gas infusion. When nitrous oxide is introduced into the cream, it transforms the mixture into a light, airy texture. This process is both simple and fascinating, making it a favorite tool in kitchens everywhere.
The Role of Nitrous Oxide Gas
Nitrous oxide, often referred to as N₂O, is the key ingredient that makes this transformation possible. When released into the cream, it expands and creates tiny bubbles. These bubbles are what give whipped cream its signature texture. The gas dissolves into the mixture, stabilizing it and ensuring a smooth, consistent result.
Using cold cream is essential for this process. The low temperature helps the gas dissolve more effectively, resulting in a stable and fluffy product. This is why refrigeration of the canister before filling is highly recommended.
The Science Behind the Whip
The process begins when the nitrous oxide cartridge is pierced, releasing the gas into the canister. As the gas mixes with the cream, it creates a high-pressure environment. This pressure forces the gas to dissolve into the mixture, forming countless tiny bubbles.
When the cream is dispensed, the pressure drops, causing the gas to expand rapidly. This expansion is what turns the liquid cream into a light, airy foam. The result is a smooth, stable texture that’s perfect for topping desserts or enhancing beverages.
Understanding this process not only demystifies the technology but also highlights its practicality. Whether you’re a home cook or a professional chef, knowing the science behind your tools can help you achieve better results every time.
Setting Up Your Whipped Cream Dispenser for Success
Proper setup ensures your dispenser delivers flawless results every time. Whether you’re a beginner or a seasoned pro, following the right steps is essential. From assembly to charging, each detail matters for achieving that perfect texture.
Proper Assembly and Filling Guidelines
Start by assembling your dispenser correctly. Ensure the head is tightly secured to prevent leaks. Next, fill the canister with cold cream up to the marked line. Overfilling can lead to inconsistent results, so stick to the maximum indicated level.
If you’re adding sugar or flavorings, mix them into the liquid before pouring it into the canister. This ensures even distribution and a smooth texture. Once filled, attach the charger holder securely to prepare for charging.
Charging Your Dispenser Safely
Charging your dispenser is a critical step. Insert the cartridge into the holder and twist it gently until you hear a hissing sound. This indicates the nitrous oxide is being released into the canister. For optimal results, use high-quality N2O from collapsargas, known for its reliability and safety.
After charging, shake the dispenser vigorously for about 30 seconds. This helps the gas mix evenly with the cream, creating a stable and fluffy texture. Always handle the cartridge with care and follow the manufacturer’s safety guidelines.
“Using high-quality N2O ensures consistent results and enhances the safety of your whipped cream dispenser.”
Troubleshooting Common Issues
If your dispenser isn’t working as expected, check these common issues:
- Ensure the head is tightly secured to prevent leaks.
- Verify the cartridge is properly inserted and fully charged.
- Avoid overfilling the canister to maintain proper pressure.
By following these steps, you’ll set up your dispenser for success every time. Proper assembly and safe charging are the keys to achieving perfect whipped cream effortlessly.
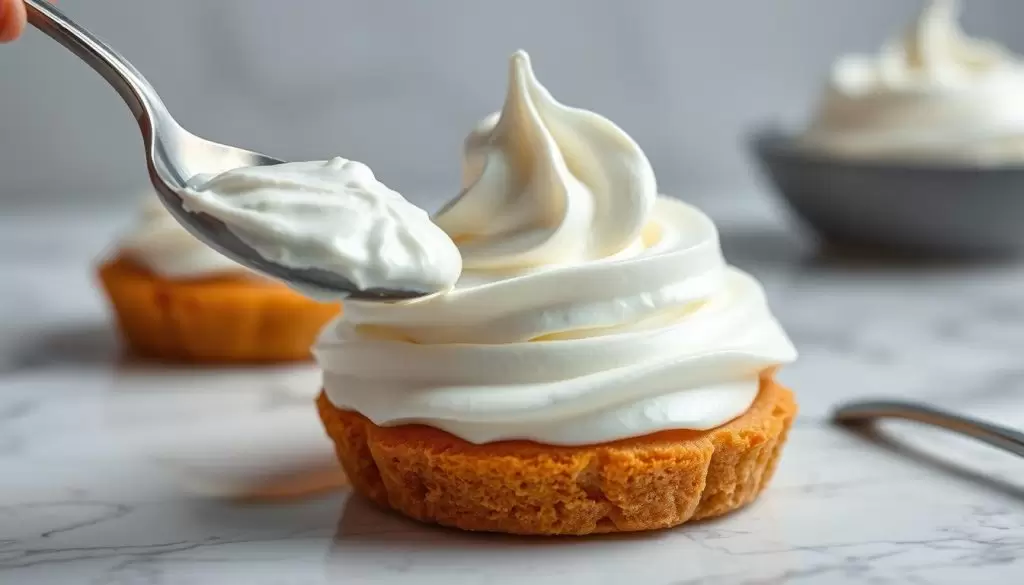
Versatile Culinary and Beverage Applications
Transform your kitchen creations with the endless possibilities of a whipped cream dispenser. This tool isn’t just for topping desserts—it’s a gateway to culinary innovation. From savory foams to airy batters, the applications are as diverse as your imagination.
Creative Culinary Uses
Think beyond whipped cream. Use your dispenser to create espumas, light foams made from vegetable purees or soups. These add a gourmet touch to dishes like fish or roasted vegetables. For breakfast, try making airy pancake or waffle batters for a fluffier texture.
Experiment with flavors like vanilla, chocolate, or citrus to elevate your recipes. The dispenser’s ability to infuse air into mixtures ensures consistent results every time. Whether you’re a home cook or a professional chef, these techniques can take your dishes to the next level.
Beverage Innovations and Cocktail Creations
Elevate your drink game with creamy or fizzy toppings. Add a dollop of flavored foam to your morning coffee or create unique cocktail presentations. For example, a vanilla foam can transform a simple latte into a café-worthy treat.
For cocktails, use the dispenser to create light, airy textures that enhance both flavor and presentation. A foam topping can turn a classic drink into a showstopper. Experiment with different flavors and techniques to find your signature style.
Decorative Presentations Beyond the Kitchen
Your dispenser isn’t just for food and drinks—it’s a tool for artistic expression. Use different nozzles to create intricate designs on desserts or plates. From elegant swirls to playful shapes, the possibilities are endless.
For special occasions, consider using the dispenser to add decorative touches to cakes, cupcakes, or even savory dishes. A well-placed tip can turn a simple dish into a work of art. Let your creativity shine with every use.
“The right tool can turn ordinary ingredients into extraordinary creations.”
| Application | Example | Tip |
|---|---|---|
| Culinary Foams | Vegetable espumas | Use cold ingredients for stability. |
| Beverage Toppings | Vanilla foam for coffee | Shake vigorously for a smooth texture. |
| Decorative Designs | Swirls on desserts | Experiment with different nozzles. |
Tips and Techniques for Perfect Whipped Cream
Mastering the art of perfect whipped cream starts with the right techniques. Whether you’re a beginner or a seasoned pro, these tips will help you achieve the ideal texture every time. From shaking to dispensing, each step plays a crucial role in creating that light, airy consistency.
Shaking Techniques for Proper Gas Distribution
Shaking is a critical step in the process. After charging the dispenser, shake it vigorously for about 30 seconds. This ensures the gas mixes evenly with the cream, creating a stable and fluffy texture. For best results, shake the dispenser 10-15 times before use.
Hold the dispenser firmly and shake it in an up-and-down motion. This way, the gas distributes evenly, preventing clumps or uneven texture. If you’re working with cold ingredients, the shaking process becomes even more effective.
Dispensing Tips for Consistent Results
When it’s time to dispense, hold the device at a slight angle. Press the lever gently to control the flow. This technique ensures smooth, even swirls every time. For decorative designs, experiment with different nozzles to find the perfect way to express your creativity.
If the texture isn’t right, check the use of the dispenser. Ensure it’s properly charged and shaken. Sometimes, a second round of shaking can fix the issue. Remember, precision and timing are key to achieving the best results.
Troubleshooting Common Questions
Many users have questions about why their whipped cream isn’t turning out as expected. Here are some common issues and solutions:
- Uneven Texture: Shake the dispenser more vigorously to ensure proper gas distribution.
- Leaking: Check if the head is tightly secured to prevent leaks.
- Weak Dispensing: Verify the cartridge is fully charged and inserted correctly.
By addressing these questions, you’ll gain confidence in using your dispenser effectively. Don’t be afraid to experiment and find the perfect technique for each recipe.
“The right technique can turn ordinary ingredients into extraordinary creations.”
With these tips, you’ll master the art of perfect whipped cream in no time. Whether you’re topping desserts or crafting cocktails, these techniques ensure consistent, professional-quality results every time.
Maintenance, Safety, and Cleaning Essentials
Keeping your cream whipper in top condition ensures safety and extends its lifespan. Regular cleaning and proper storage are key to maintaining its performance. Let’s dive into the essentials of caring for your device.
Step-by-Step Cleaning Process
After each use, disassemble the cream whipper to clean every part thoroughly. Start by removing the head, gasket, and nozzle. Rinse these components with cold water to prevent residue buildup.
Use mild soap and a soft cloth to clean the canister and other parts. Avoid harsh detergents or scrub brushes, as they can damage the device. Rinse everything well and let it air dry before reassembling.
Inspect the gasket and seals for wear or damage. Replace them if necessary to prevent leaks or malfunctions. Regular checks ensure your cream whipper remains safe and efficient.
Storage and Maintenance Advice
Store your cream whipper in a cool, dry place to prevent degradation. Avoid leaving it filled with cream for extended periods, as this can lead to spoilage and affect performance.
When not in use, keep the device disassembled to allow air circulation. This prevents moisture buildup and maintains hygiene. Proper storage practices extend the life of your cream whipper and ensure it’s ready for your next culinary creation.
“Regular cleaning and inspection are the keys to a safe and long-lasting cream whipper.”
Safety is paramount when handling oxide gas cartridges. Always follow the manufacturer’s guidelines for charging and maintenance. Avoid over-tightening the gasket to prevent damage and ensure a secure fit.
By following these steps, you’ll keep your cream whipper in excellent condition. Proper care guarantees reliable performance and enhances your culinary experience.
Conclusion
Elevate your kitchen creations with a versatile tool that transforms ordinary ingredients into extraordinary dishes. From understanding the role of N2O to mastering shaking techniques, this guide has equipped you with all the knowledge needed for success.
Whether you’re topping desserts or crafting cocktails, this tool offers endless options for creativity. Its ease of use and consistent results make it a must-have in any kitchen. Proper maintenance ensures it remains a reliable companion for years to come.
We’d love to hear about your favorite recipes or techniques! Share your experiences in the comments and inspire others to explore the possibilities. With the right approach, every dish and beverage can become a masterpiece.
FAQ
What is a whipped cream dispenser?
A whipped cream dispenser is a kitchen tool designed to create fluffy, smooth whipped cream quickly. It uses nitrous oxide gas (N2O) to aerate the cream, giving it a light and airy texture.
What are the key components of a whipped cream dispenser?
The main parts include the dispenser body, a nozzle for dispensing, a charger holder for nitrous oxide cartridges, and a gasket to ensure a tight seal. Each component plays a vital role in achieving the perfect whip.
How does nitrous oxide gas work in a whipped cream dispenser?
Nitrous oxide gas dissolves into the liquid cream, creating tiny bubbles that expand when released. This process gives the cream its signature foam-like texture.
How do I safely charge my whipped cream dispenser?
Always use high-quality N2O cartridges like those from collapsargas. Insert the cartridge into the charger holder, screw it in securely, and shake the dispenser gently to mix the gas with the cream.
Can I use a whipped cream dispenser for more than just cream?
Absolutely! These dispensers are versatile tools for creating foams, mousses, and even cocktail toppings. They’re perfect for adding a creative touch to desserts, drinks, and savory dishes.
What’s the best way to clean a whipped cream dispenser?
Disassemble the dispenser, wash each part with warm, soapy water, and rinse thoroughly. Ensure all components are completely dry before reassembling to maintain hygiene and functionality.
How do I store my whipped cream dispenser?
Store it in a cool, dry place with the charger removed. Keep it disassembled if not in use for extended periods to prevent wear and tear on the gasket and other parts.
What’s the secret to perfect whipped cream?
Use cold cream, shake the dispenser well before use, and dispense at a 45-degree angle for the best results. Experiment with ingredients like vanilla or sugar to enhance flavor.