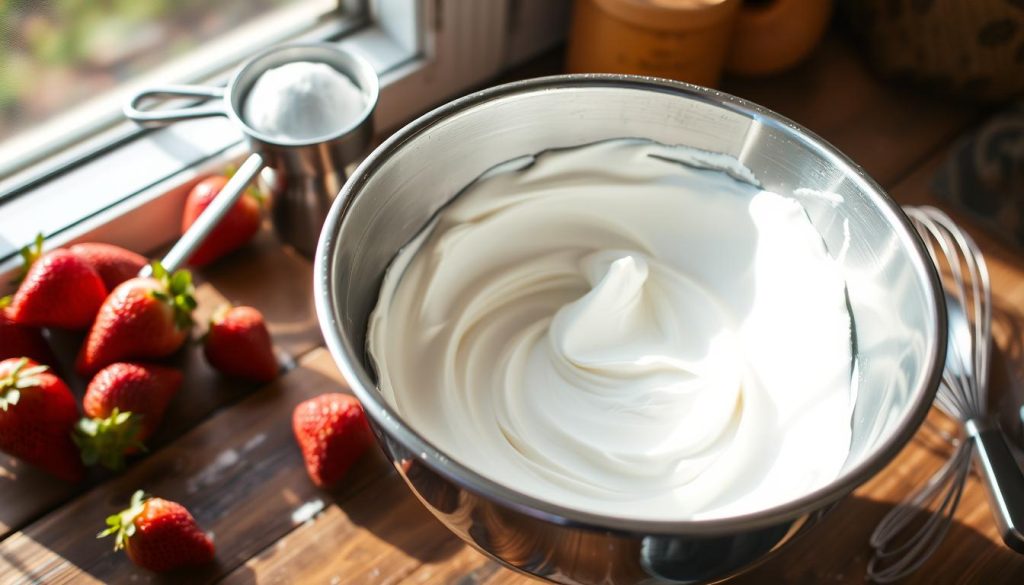
Picture a fluffy cloud of sweetness that transforms pies, cakes, and hot cocoa into something extraordinary. Creating restaurant-quality whipped cream requires just three basic items: cold heavy cream, sugar, and vanilla extract. With an electric mixer, you’ll achieve dreamy peaks in under five minutes—no preservatives or artificial flavors needed.
Store-bought versions can’t compete with the rich, velvety texture of freshly whipped cream. Unlike shelf-stable alternatives, this recipe delivers a light yet luxurious finish that melts perfectly on warm desserts. Best of all, it’s customizable—adjust sweetness or add flavors like cinnamon or citrus zest to match any treat.
This guide walks through every detail, from choosing the right dairy percentage to avoiding over-whipping. You’ll discover pro tips for stabilizing your creation and creative ways to use it beyond typical desserts. Whether you’re topping holiday pies or summer berries, mastering this technique opens endless possibilities.
Key Takeaways
- Requires only 3 ingredients: heavy cream, sugar, and vanilla
- Ready in 3-4 minutes with an electric mixer
- Superior flavor and texture compared to canned versions
- Customizable for different desserts and dietary preferences
- Works as frosting, fruit dip, or hot drink topping
- Avoids artificial stabilizers found in store products
Introduction to Homemade Whipped Cream
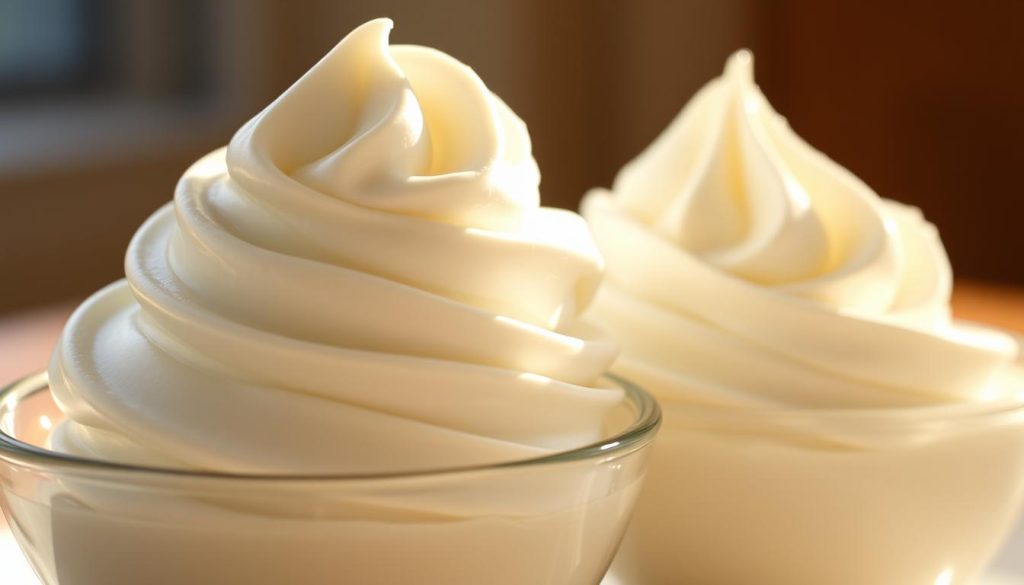
Freshness takes center stage when you skip the store and whip it yourself. Unlike mass-produced alternatives, homemade versions let you savor real dairy richness without hidden additives. This simple switch transforms ordinary treats into extraordinary experiences.
Why Choose Homemade Over Store-Bought?
Commercial toppings often contain stabilizers like carrageenan and high-fructose corn syrup. One baker shared: “My strawberry shortcake went from good to magical once I swapped canned foam for real whipped cream.” Natural ingredients create a cleaner taste that enhances pies, coffee drinks, and seasonal desserts.
| Homemade | Store-Bought | |
|---|---|---|
| Ingredients | Heavy cream, sugar, vanilla | Hydrogenated oils, artificial flavors |
| Texture | Silky & airy | Stiff & foamy |
| Shelf Life | 2-3 days | 6+ months |
| Cost per cup | $1.20 | $3.50 |
The Benefits of Fresh Ingredients
Pure heavy cream whips into billowy peaks that melt luxuriously on warm cobblers. You control the sugar level—perfect for balancing tart fruits or rich chocolate cakes. Vanilla bean paste or citrus zest adds custom flavor twists you’ll never find in pre-made cans.
Families appreciate knowing exactly what’s in their food. As one parent noted: “My kids think Cool Whip tastes plastic now!” With basic kitchen tools and five minutes, you’ll create toppings that make every bite memorable.
Tools and Ingredients for Whipped Cream Success
The secret to cloud-like peaks lies in your toolkit and ingredients. Choosing the right gear and dairy products ensures your topping stays airy yet stable—whether decorating pies or enhancing coffee drinks.
Essential Kitchen Tools
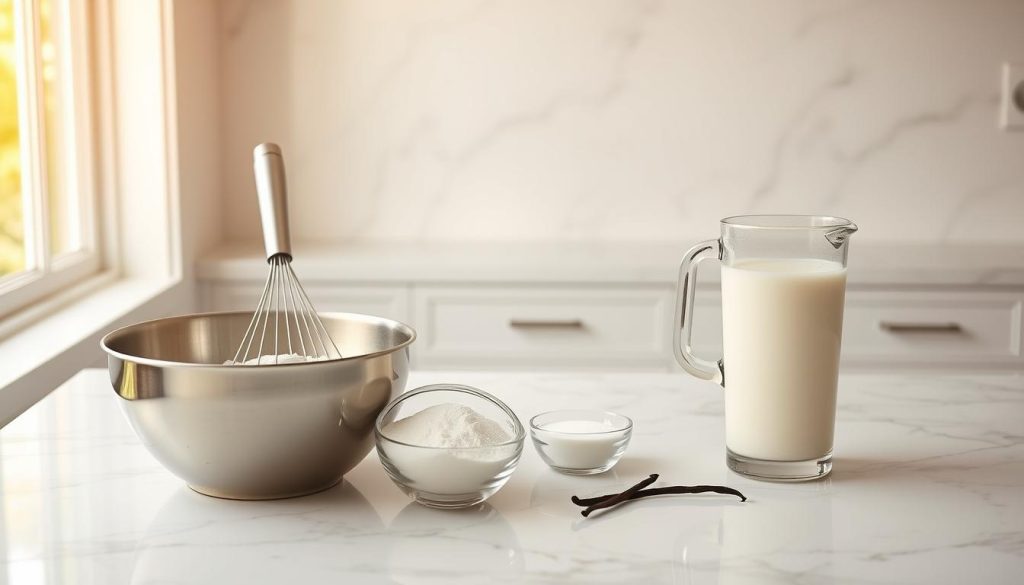
An electric mixer does the heavy lifting. Handheld models work well, but a stand mixer with whisk attachment offers hands-free convenience. Professional bakers often note: “Cold metal bowls create stiffer peaks compared to room-temperature containers.”
Chill your mixing bowl and beaters for 10 minutes before starting. Metal conducts cold better than glass or plastic, helping cream whip faster. This simple step prevents melting during mixing.
Understanding Heavy Cream and Alternatives
Not all creams whip equally. Heavy whipping cream (36% milk fat) holds shape for days, while regular whipping cream (30-35%) works for immediate use. Check labels—some brands use “heavy cream” and “heavy whipping cream” interchangeably.
For dairy-free options, full-fat coconut milk can mimic texture when chilled overnight. Double cream (48% fat) creates extra-rich results but isn’t widely available. Avoid half-and-half—it lacks enough fat to form peaks.
Remember: Temperature matters more than fancy equipment. Cold cream + cold tools = billowy perfection every time.
Preparing for Perfect Whipped Cream
Temperature plays a bigger role than you might think when crafting velvety toppings. Proper prep work ensures your heavy cream transforms into airy peaks rather than a soupy mess. Let’s break down the essentials for setting up success.
Why Cold Rules the Process
Chill your mixing bowl and beaters in the freezer for 15 minutes or the fridge for 30. Cold tools keep fat molecules in the cream firm, helping them trap air bubbles more effectively. One pastry chef explains: “Warm equipment melts fat globules before they can stabilize—you’ll end up with butter instead of peaks.”
Use cream straight from the fridge—ideally below 40°F. Colder dairy whips 30% faster and holds shape longer. For best results, measure ingredients beforehand: 1 cup heavy whipping cream, 2 tablespoons sugar, and ½ teaspoon vanilla extract.
Ingredient Precision Matters
Confectioners’ sugar dissolves instantly, preventing graininess in larger batches. Granulated works too, but sift it first for smoother texture. Vanilla extract adds depth, though almond or citrus zest make fun swaps.
Organize everything within reach before starting. Once whipping begins, you’ll need to monitor consistency closely—distractions lead to overmixed cream. Remember: Proper prep takes 10 minutes but saves you from collapsed toppings later.
Step-by-Step Guide: How to make whipped cream at home?
Precision transforms simple ingredients into airy delight. Grab your chilled bowl and let’s turn heavy cream, sugar, and vanilla extract into a versatile topping. Follow these measured steps for results that elevate pies, coffee drinks, and fresh berries.
Measuring and Mixing Your Ingredients
Use a liquid measuring cup for the heavy cream—fill to the 1-cup mark without tilting. Level off powdered sugar with a straight-edged knife for exact tablespoons. A pastry chef advises: “Sift confectioners’ sugar if your recipe calls for ultra-smooth texture.”
| Mixer Speed | Purpose | Duration |
|---|---|---|
| Low | Combine ingredients | 30 seconds |
| Medium | Build structure | 1-2 minutes |
| High | Reach perfect peaks | Final 60 seconds |
Monitoring Consistency as You Whip
Watch for three stages: frothy bubbles, soft peaks that droop, then firm curls holding their shape. Stop when the mixer leaves visible trails—overbeating creates grainy butter. Remember, 3-4 minutes is a guide; visual cues matter most.
Your mixture should double in volume, turning 1 cup of liquid into 2 cups of pillowy goodness. Test by lifting the beaters—peaks should stand tall but tip slightly. Immediate use delivers maximum fluffiness, though stabilized versions last longer.
Mastering Whipping Techniques
Creating dreamy toppings hinges on balancing science and kitchen intuition. The right approach transforms liquid cream into pillowy perfection—if you nail timing and technique.
Setting Your Mixer to the Right Speed
Medium-high speed works like magic for incorporating air without chaos. High settings introduce large bubbles that collapse quickly, while low speed barely lifts the cream. A pastry instructor explains: “Think of it as folding air into the cream—too fast breaks the structure, too slow leaves it flat.”
| Speed | Effect | Best For |
|---|---|---|
| Low | Gentle mixing | Combining ingredients |
| Medium-High | Optimal aeration | Building stable peaks |
| High | Rapid whipping | Emergency fixes* |
*Only use briefly if peaks aren’t forming
Avoiding Overwhipping and Achieving Medium Peaks
Watch for these visual cues:
- Soft peaks: Slightly droopy curls when lifting beaters
- Medium peaks: Holds shape but bends at the tip
- Stiff peaks: Stands straight up—ideal for piping
Stop mixing when cream looks like billowy clouds with smooth ridges. Test every 15 seconds after the 2-minute mark—overwhipped cream turns grainy in seconds. If you go too far, stir in 1 tbsp cold cream to rescue the batch.
“The window between perfect peaks and butter is smaller than you think—keep your eyes glued to the bowl!”
Flavor Variations and Creative Twists
Transform ordinary desserts into showstoppers with simple flavor twists. That basic vanilla version you love? It’s actually crème chantilly—a French classic that elevates berries and cakes with timeless elegance. Now let’s explore how to customize this versatile topping for any occasion.
Classic Vanilla and Beyond
Swap vanilla extract for almond or coconut to create new taste adventures. A pastry chef notes: “Citrus zest folded into whipped cream makes lemon tarts sing like never before.” For adult desserts, try adding 1 tbsp liqueur per cup of cream—Kahlúa for tiramisu or Grand Marnier for chocolate mousse.
| Extract | Flavor Profile | Best Pairings |
|---|---|---|
| Vanilla | Warm & sweet | Pound cake, hot cocoa |
| Almond | Nutty richness | Cherry pie, poached pears |
| Coconut | Tropical twist | Mango sorbet, pineapple upside-down cake |
Adapting the Recipe for Unique Desserts
Mix in cocoa powder for chocolate-dipped strawberries or cinnamon for pumpkin pie. Fold pureed strawberries into homemade whipped cream for pink clouds on shortcake. For autumn treats, brown sugar adds caramel notes perfect for pecan pie.
Remember these pro tips:
- Add dry ingredients like espresso powder before whipping
- Use chilled fruit purees to maintain texture
- Adjust sweeteners—maple syrup pairs beautifully with apple crisp
“The right flavor pairing can turn simple whipped cream into the star of your dessert.”
Whether you’re topping flourless chocolate cake or summer berries, these recipes prove vanilla is just the beginning. Experiment fearlessly—your taste buds will thank you!
Tips for Storing and Using Whipped Cream
Proper storage ensures your whipped cream stays airy and delicious. While it’s best enjoyed immediately, a few smart tricks help preserve its texture for later use.
Cold Storage Solutions
Transfer leftovers to an airtight container within two hours. Store in the coldest part of your refrigerator—usually the back middle shelf. For optimal texture, consume within 24 hours, though stabilized versions may last 2-3 days.
Beyond Basic Applications
This versatile topping shines on more than pie and cake. Try layering it in parfaits with fresh strawberry slices or dolloping onto espresso drinks. A pro tip: Fold it into lemon curd for an instant berry trifle filling.
For special desserts like pavlova, add whipped cream just before serving to maintain crispness. Freeze small cups in silicone molds for edible coffee ice cubes. With proper care, your homemade whipped creation becomes the secret weapon in your dessert toolkit.
FAQ
Why is homemade whipped cream better than store-bought versions?
Homemade whipped cream uses fresh ingredients like heavy whipping cream and real vanilla extract, giving it a richer flavor and smoother texture. You avoid artificial stabilizers and can customize sweetness or flavors to suit your taste.
Can I use milk instead of heavy cream for whipped cream?
No, milk lacks the fat content needed to form stiff peaks. Heavy whipping cream (30–36% fat) is essential. For dairy-free options, chilled coconut cream or plant-based heavy cream alternatives work best.
How long does homemade whipped cream last in the refrigerator?
Freshly whipped cream stays fluffy for up to 24 hours when stored in an airtight container. For longer storage, freeze it in a sealed bag for up to 1 month—thaw in the fridge before using.
What’s the secret to getting stiff peaks every time?
Chill your mixing bowl and beaters in the freezer for 10–15 minutes before whipping. Start at medium speed, then increase to high once the cream thickens. Stop once peaks hold their shape to avoid overwhipping.
Can I add flavors like chocolate or fruit to whipped cream?
Absolutely! Fold in cocoa powder, citrus zest, or pureed strawberries after achieving medium peaks. For a subtle twist, try almond extract or espresso powder. Adjust sugar to balance stronger flavors.
Why did my whipped cream turn grainy or curdled?
Overwhipping causes the fat in heavy cream to separate, creating a butter-like texture. If this happens, gently fold in 1–2 tablespoons of cold heavy cream to revive its smoothness.
Can I make whipped cream without a stand mixer?
Yes! A hand mixer works well, or use a whisk for a workout. Ensure your tools are cold, and whip vigorously in a circular motion until soft peaks form—this takes about 5–7 minutes by hand.
What desserts pair best with homemade whipped cream?
Top pies, cakes, or hot cocoa for classic appeal. Layer it with fresh berries in parfaits, or mix into coffee for a decadent twist. It’s also perfect for filling pastries or frosting cupcakes.

