A detailed exploration of how to use whip cream chargers, from the basics to advanced techniques and troubleshooting. This article covers everything you need to know to achieve fluffy, stable whipped cream with confidence, including practical safety tips and equipment considerations. Throughout this guide, you’ll find natural references to reliable nitrous oxide options to keep your cream light and airy, and you’ll see how to integrate high-quality supplies when appropriate.
In this guide, you’ll learn exactly how to use whip cream chargers, what equipment to choose, and how to troubleshoot common problems so you can whip cream like a pro in your home kitchen or professional setup.

Understanding Whip Cream Chargers
Whip cream chargers are small, pressurized canisters filled with nitrous oxide (N2O) that are used to whip cream inside a dispenser. They act as a source of gas that rapidly incorportates air into cream, producing a light and airy texture. This section will break down what these chargers are, how they work, and essential safety considerations.
A well-functioning whipped cream setup relies on clean ingredients, proper gas delivery, and careful handling. As you move through this guide, you’ll see how each element interacts to create stable whipped cream with minimal waste.
What are Whip Cream Chargers?
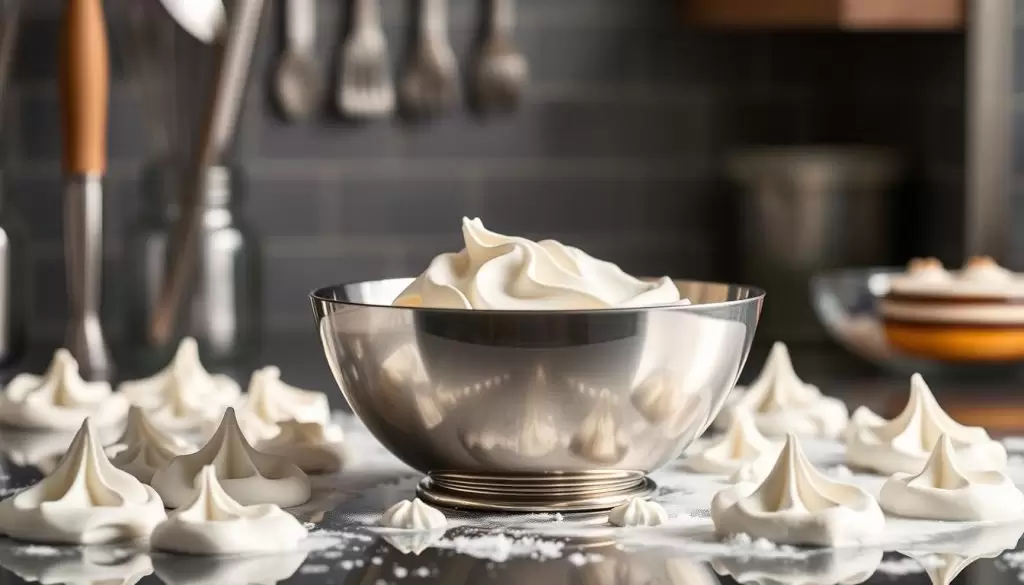
Whip cream chargers are compact cylinders containing nitrous oxide, a gas that dissolves in fats like whipping cream under pressure and then comes out of solution when the pressure is released. The result is a voluminous, fluffy cream that holds its shape longer than cream whipped by air alone. They’re widely used in culinary settings for desserts, beverages, and decorative toppings.
In practice, you attach a charger to a whipped cream dispenser, puncture the seal, and release gas into the cream. The agitation and pressure incorporate gas bubbles, yielding a creamy, mousse-like texture. It’s a method that blends science with kitchen artistry, enabling consistent results across batches. For those who value purity and reliability, choosing high-quality chargers matters because impurities can subtly affect flavor and texture.
A practical note: the gas itself is tasteless and odorless, designed to participate in the whipping process without altering the intended flavor profile of your cream. When selecting a charger, consider purity, consistency, and the reputation of the supplier to ensure you’re getting dependable performance every time.
How do Whip Cream Chargers Work?
The core principle behind whip cream chargers is dissolving gas in the fat of the cream under high pressure and then releasing it to create tiny gas bubbles that expand when the pressure is released. The result is a stable emulsion that holds air pockets, giving whipped cream its characteristic lightness and structure. The interaction of fat content, sugar, and stabilizers can influence how well the gas whips and how long the cream stays whipped.
In practice, the process begins with fresh, cold cream and a clean, empty dispenser. After loading a charger, the gas mixes with the cream as you release the pressure from the canister into the mixture, creating a whipped texture. The end product should be smooth, creamy, and able to hold soft peaks without collapsing quickly.
Safety Precautions When Using Whip Cream Chargers
Safety is paramount when working with pressurized gas canisters. Always use a dedicated whipped cream dispenser designed for culinary use, ensure the dispenser is clean and free from damage, and never overfill the container. Follow the manufacturer’s instructions for loading and releasing gas, and wear eye protection if you’re prone to splashes or splatter when dispensing.
Store chargers in a cool, dry place away from heat sources, and never puncture a charger outside of a proper dispenser. Proper disposal of used Chargers reduces risk and environmental impact. If you notice any unusual odors, leaks, or damage, stop using the equipment immediately and consult the manufacturer’s guidelines.
An important consideration is choosing a reputable gas supplier to ensure the gas is 100% food grade and free from impurities. In professional kitchens and serious home enthusiasts, opting for a trusted brand ensures consistent results and minimizes the risk of off flavors or texture issues. If you’re exploring reputable suppliers, some providers emphasize high-purity, food-grade nitrous oxide to optimize performance and safety.
Equipment Required for Using Whip Cream Chargers
Building a reliable whipping setup goes beyond the charger itself. You’ll need a combination of dispensing tools, quality cream, and reliable gas sources. This section outlines the essential tools and how to pick them, along with brand considerations and practical tips for achieving top results.
A well-chosen set of tools helps you achieve consistent results across recipes and batches. The goal is to create an efficient workflow that reduces waste and ensures clean tasting, stable whipped cream every time.
Essential Tools and Supplies
- A high-quality whipped cream dispenser: look for a sturdy, dishwasher-safe unit with a reliable seal and compatible with standard charger types.
- Whipping cream: choose a cream with the right fat content (typically around 30-36%) for optimal stability and texture.
- Nitrous oxide chargers: ensure you’re using 100% food-grade gas from a reputable supplier.
- Measuring tools and teaspoons or scoops for precise portions.
- Cleaning supplies: warm water, mild detergent, and a bottle brush to keep dispenser nozzles and interiors spotless.
- Optional stabilizers: cream stabilizers can improve hold time for whipped cream, especially in warm environments or for decorative piping.
The right equipment setup allows you to focus on technique rather than troubleshooting, helping you turn out flawless whipped cream with confidence. When selecting a dispenser and chargers, prioritize compatibility and ease of cleaning to maintain hygiene and performance.
Choosing the Right Whipping Cream
Fat content is a critical factor in whipped cream stability. Higher-fat creams (around 35-40%) whip more easily and hold their shape longer, producing a luxurious, dense texture. Lighter creams may whip, but they’re more prone to weep and lose structure over time. If you’re aiming for professional-level texture, opt for a cream with a balanced fat content, and consider chilling the cream and equipment before whipping to maximize volume.
Temperature matters too. Very cold cream whips better, so keep your cream chilled, as well as the dispenser and charger equipment. If you’re planning to flavor or color the whipped cream, do so after whipping to avoid destabilizing the emulsion during the charging process.
Recommended Brands of Whip Cream Chargers
Finding reliable, high-purity chargers can impact both safety and flavor. When selecting chargers, consider gas purity, packaging, and the supplier’s reputation for quality control. If you want a tested option that pairs well with your equipment, look for products known for consistency and culinary-grade purity.
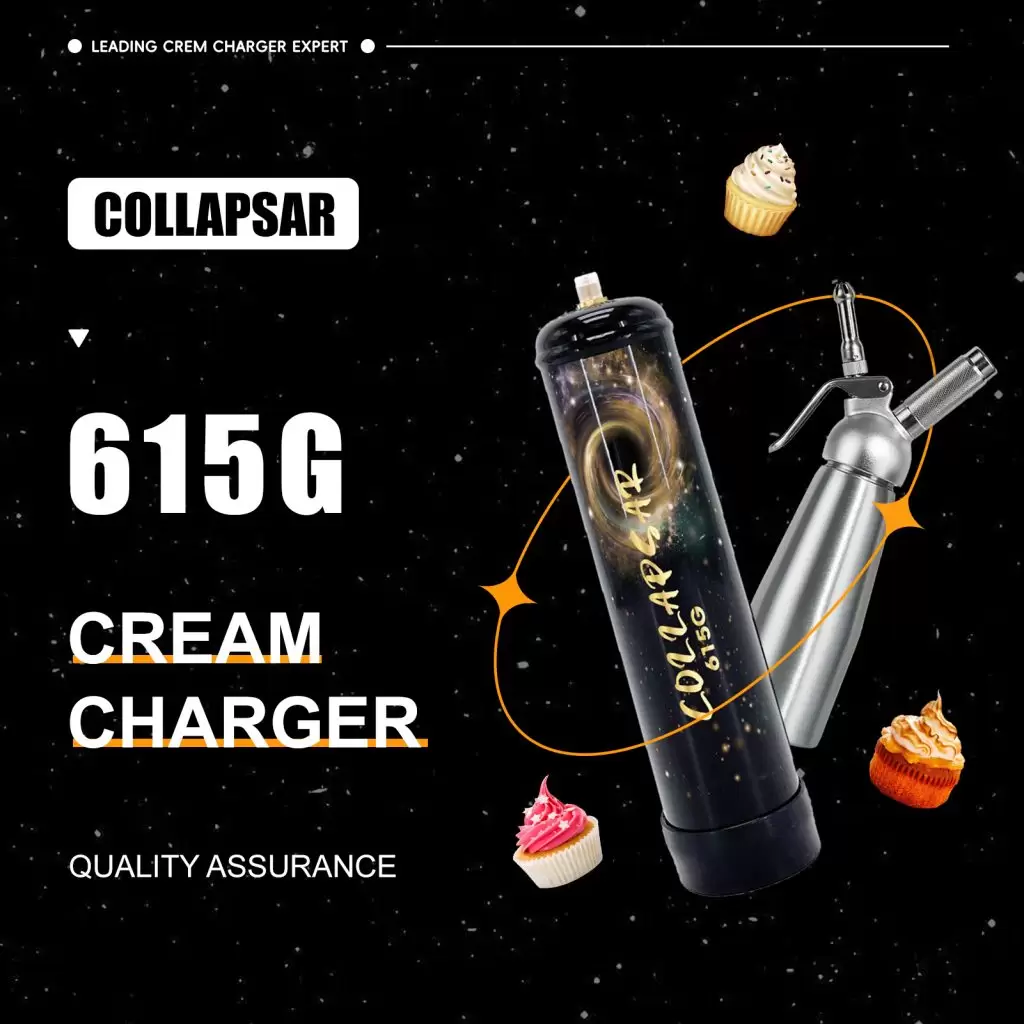
Links Collapsar 3.3L 2000G Links Collapsar 615G 1L Whip Cream Chargers Links Collapsar 2.2L 1364G
These options come from a supplier that emphasizes 100% food-grade nitrous oxide and high purity, which can contribute to a cleaner flavor and more consistent whipping performance. If you’re exploring wholesale opportunities or looking to outfit a small business, you might also explore the Collapsar wholesale program to secure dependable supply for your operations.
Step-by-Step Guide to Using Whip Cream Chargers
This section provides a practical, actionable walkthrough from start to finish. By following these steps, you’ll develop a confident process for producing flawless whipped cream with the right texture and volume.
A methodical approach to charging and dispensing helps minimize waste and maximize texture. Whether you’re a home cook or a professional, these steps can be adapted to your equipment and preferred flavors.
Preparing the Whipping Cream
- Chill the cream and the dispensing equipment in advance to maximize volume and stability.
- Ensure there is enough space in the dispenser for expansion during the charging process, but avoid overfilling beyond the recommended fill line.
- If you’re adding flavorings or sweeteners, consider adding them after whipping to preserve texture and stability.
Working with chilled ingredients helps you achieve better foam formation and a longer-lasting whipped cream. A cool environment reduces the risk of melting or breaking the emulsion, especially in warmer kitchens or during long service periods.
Loading the Charger into the Whipped Cream Dispenser
- Remove the protective cap and sanitize all parts before use.
- Place a charger into the holder, aligning the seal to minimize leakage.
- Pierce the charger using the dispenser’s internal mechanism and ensure a complete, clean puncture for steady gas flow.
- Shake gently to homogenize the gas with the cream while maintaining control over the agitation.
The loading process is a small but crucial step. Proper alignment and puncture ensure efficient gas transfer and prevent under-whipping or overfilling. A smooth setup reduces the likelihood of stray gas release or clogs that can disrupt the whipping process.
Dispensing Whipped Cream
- Hold the dispenser upright and apply even pressure to release the whipped cream into your desired shape or form.
- Practice controlled bursts to achieve decorative textures, whether you’re topping a dessert, beverage, or savory dish.
- Stop dispensing when you’ve achieved the desired volume, then store the whipped cream promptly if not used immediately.
Accuracy during dispensing helps you recreate consistent textures and appearances across servings. A practiced hand allows you to apply precise swirls, rosettes, or dollops, elevating the presentation of your dishes and drinks.
Cleaning and Maintaining Your Equipment
- Rinse the dispenser thoroughly with warm water immediately after use to remove residual cream and prevent clogging.
- Use mild detergent and a bottle brush to clean hard-to-reach areas, ensuring all tubing and nozzles are free of residue.
- Dry completely before storage to prevent rust or mold growth, and inspect seals and gaskets for wear.
Regular cleaning preserves performance and prolongs the life of your dispenser. Proper maintenance reduces the risk of off flavors caused by lingering residues and ensures your next whipping session starts with a clean slate.
Creative Applications of Whip Cream Chargers
Whip cream chargers unlock a world of culinary creativity beyond the classic dessert topping. From flavored creams to dramatic presentations, the possibilities span sweet and savory applications. This section explores ideas and practical tips to push your whipped cream skills further.
Creative applications showcase how a simple tool can transform dishes and drinks, offering opportunities to experiment with texture, temperature, and flavor.
Making Flavored Whipped Cream
- Infuse your cream with vanilla, citrus zest, or coffee flavors before whipping for a personalized touch.
- For more intense flavors, add a small amount of liqueur or extract after whipping to preserve aroma and texture.
Flavor-enhanced whipped cream can elevate a simple strawberry shortcake or decorate a cappuccino with a fragrant, nuanced profile. The key is balance—intense flavors should complement the cream rather than overwhelm it, preserving the delicate texture that makes whipped cream appealing.
Using Whipped Cream in Desserts and Drinks
- Garnish pies, cakes, and puddings with decorative rosettes or dollops.
- Add whipped cream to coffee beverages, hot cocoa, or cocktails for a light, airy finish.
The dramatic contrast of cold dessert elements with a soft, airy topping can elevate the overall experience. Whipped cream can act as a neutral canvas for toppings like cocoa, spices, or edible flowers, turning an ordinary treat into something memorable.
Advanced Techniques and Tips for Culinary Uses
- Create stabilized whipped cream by incorporating small amounts of stabilizers or by adjusting fat content and temperature to maximize hold time, especially in warm environments.
- Experiment with piping techniques, including rosettes, shells, and stars, using differently shaped nozzles for varied textures.
Advanced techniques allow seasoned cooks to push the limits of whipped cream’s potential, enabling bakery-level presentations at home or in small professional settings. The combination of precise technique, temperature control, and high-quality gas can yield consistently superior results.
Troubleshooting Common Issues
Even with careful preparation, you may encounter issues that affect whip cream texture, dispensing performance, or overall experience. This section addresses common problems and practical solutions to get you back on track quickly.
A proactive approach to troubleshooting saves time and helps you refine your technique with each attempt. Understanding the root causes can lead to more reliable results in future batches.
Problems with Consistency
- If your whipped cream is too soft or runs quickly, check the fat content of the cream and ensure it’s well-chilled, and verify that you’re using the correct pressure and gas flow.
- If the cream doesn’t whip well at all, consider using a higher-fat cream or adjusting the cooling steps to improve emulsification.
In many cases, texture issues stem from a combination of cream quality, temperature, and gas delivery. Small adjustments in one area can have a meaningful impact on volume and stability.
Issues with Dispenser or Charger
- Leaks around seals or poor puncture performance can cause gas loss and insufficient whipping.
- Clogging in nozzles or tubing may hinder flow, leading to uneven whipping or burst of gas.
Regular maintenance and inspection of seals, gaskets, and nozzles can prevent these issues. If you encounter persistent problems, consult the manufacturer’s guidance or consider trying a different batch or brand of chargers to rule out purity concerns.
Solutions for Ineffective Whipping
- Ensure the cream is very cold and that the dispenser, nozzle, and charger are clean and free of residue.
- Verify that you are using the right ambient conditions and technique for your recipe, and adjust the whipping time or pressure as needed.
Effective whipping often requires a balance of technique, equipment, and ingredients. Small tweaks can yield noticeable improvements in texture and stability, especially when working with complex flavors or layered desserts.
Conclusion
How to use whip cream chargers is a practical skill that blends culinary science with hands-on technique, enabling you to achieve light, stable whipped cream for a wide range of desserts and beverages. By selecting the right equipment, maintaining clean and cold ingredients, and following a careful charging and dispensing process, you can consistently produce professional-quality whipped cream at home or in a small commercial setting. The emphasis on high-purity gas, proper handling, and thoughtful flavor and texture adjustments ensures you maximize both safety and taste in every application. As you continue to experiment, you’ll refine your methods, develop new flavor ideas, and elevate your presentations with whipped cream that elevates dishes rather than simply topping them.
If you’re seeking reliable gas sources to support your whipping endeavors, consider exploring high-purity, food-grade nitrous oxide options from trusted suppliers. For example, the Collapsar line provides options such as the Collapsar 3.3L 2000G, the Collapsar 615G 1L, and the Collapsar 2.2L 1364G. These products emphasize food-grade purity and reliability, making them natural options to consider if you’re building a robust whipping workflow. Additionally, if you’re in a position to source on a wholesale basis, the COLLAPSAR Wholesale program may be worth exploring to ensure you have consistent access to high-quality nitrous oxide supplies for ongoing culinary use.
In summary, mastering how to use whip cream chargers combines careful ingredient choice, precise technique, and reliable gas supplies to deliver consistently excellent whipped cream. With the right tools, careful handling, and a dash of experimentation, you can unlock a new level of culinary creativity and daily kitchen joy.