What Is a Nitrous Oxide Dispenser?
A nitrous oxide dispenser (also known as a whipped cream dispenser) is a kitchen tool that uses pressurized gas to create light, fluffy whipped cream and other culinary foams. The device consists of a canister (typically made of aluminum or stainless steel), a head assembly with a dispensing lever, and various decorating tips.
The dispenser works by using small cartridges of nitrous oxide (N2O) to infuse liquid ingredients with tiny gas bubbles, creating a light and airy texture. When used properly, these dispensers are safe and can transform ordinary ingredients into restaurant-quality creations.
Preparation: Before You Begin
Proper preparation is crucial for safe operation of your nitrous oxide dispenser. Follow these steps before you begin:
Equipment Integrity Check
- Inspect the dispenser body for dents, cracks, or other damage
- Check the head assembly for proper threading and seal integrity
- Examine the gasket for wear or damage (replace if necessary)
- Verify that the dispensing lever moves freely
- Ensure all decorating tips are clean and unclogged
Required Safety Gear
- Safety goggles to protect eyes from potential pressure releases
- Food-grade gloves to maintain hygiene and protect hands
- Long-sleeved clothing to protect arms
- Closed-toe shoes in case of dropped equipment
Workspace Setup
Create a safe environment for operating your nitrous oxide dispenser:
- Choose a clean, flat, stable surface with adequate space
- Ensure good lighting to see all components clearly
- Keep away from heat sources and open flames
- Have a towel or mat ready to place the dispenser on
- Keep children and pets away from the workspace
Operation: Step-by-Step Guide
Filling the Dispenser
- Ensure the dispenser is completely clean and dry
- Fill the canister with cold, liquid ingredients (never exceed the maximum fill line, typically 1 pint)
- For basic whipped cream, use heavy cream (36-40% fat) with optional sweeteners or flavorings
- Leave at least 1/4 of the canister empty for proper gas expansion
- Securely attach the head assembly, ensuring it’s properly threaded and tightened
WARNING: Never fill the dispenser more than the indicated maximum line (typically 1 pint or 0.5 liters). Overfilling can cause excessive pressure and potential equipment failure.
Attaching the Nitrous Oxide Cartridge
- Place a fresh N2O cartridge into the charger holder (narrow end facing up)
- Quickly screw the charger holder onto the dispenser head until you hear the gas release (a hissing sound)
- Remove the empty cartridge holder and set aside
- If using a second cartridge (for denser results), repeat the process
TIP: Always use high-quality food-grade N2O cartridges specifically designed for culinary use. Low-quality cartridges may contain impurities or provide inconsistent results.
Shaking and Dispensing
- Shake the dispenser vigorously in a vertical position (10-15 shakes)
- Turn the dispenser upside down (dispensing tip pointing downward)
- Attach your desired decorating tip if not already in place
- Press the lever gently to dispense the contents
- For best results, shake again between each use
Master Proper Technique
Download our illustrated guide showing the correct hand positions and techniques for operating your dispenser.
Essential Safety Precautions

Ventilation Requirements
Proper ventilation is crucial when working with nitrous oxide dispensers:
- Always operate in a well-ventilated area
- Open windows or use exhaust fans if available
- Avoid confined spaces with limited air circulation
- Never inhale the gas directly from cartridges or dispensers
Handling Leaks and Malfunctions
Proper Response to Leaks
- Stop operation immediately
- Move to a well-ventilated area
- Allow the dispenser to depressurize naturally
- Check and replace damaged gaskets
- Verify proper threading before resuming
What NOT to Do
- Force open a pressurized dispenser
- Use excessive force when attaching components
- Ignore hissing sounds or visible leaks
- Continue using damaged equipment
- Store charged dispensers for extended periods
Avoiding Overexposure Risks
IMPORTANT HEALTH WARNING: Nitrous oxide is intended for culinary use only. Inhalation can cause serious health risks including addiction, vitamin B12 deficiency, nerve damage, and in extreme cases, death. It is illegal in many jurisdictions to use nitrous oxide for recreational purposes.
- Never inhale the gas directly from cartridges or dispensers
- Take breaks when preparing multiple batches
- Recognize symptoms of overexposure (dizziness, lightheadedness)
- Seek fresh air immediately if you experience any symptoms
- Store cartridges securely away from children and unauthorized users
“Safety isn’t expensive, it’s priceless. Always prioritize proper handling and usage of nitrous oxide dispensers to ensure both personal safety and optimal culinary results.”
Cleaning & Storage
Post-Use Maintenance
- Ensure the dispenser is completely depressurized (press lever until no more gas escapes)
- Unscrew the head assembly carefully
- Empty any remaining contents
- Disassemble all removable parts (head, gasket, decorating tips)
- Rinse all parts with warm water to remove residue
Thorough Cleaning Process

- Wash all parts with mild dish soap and warm water
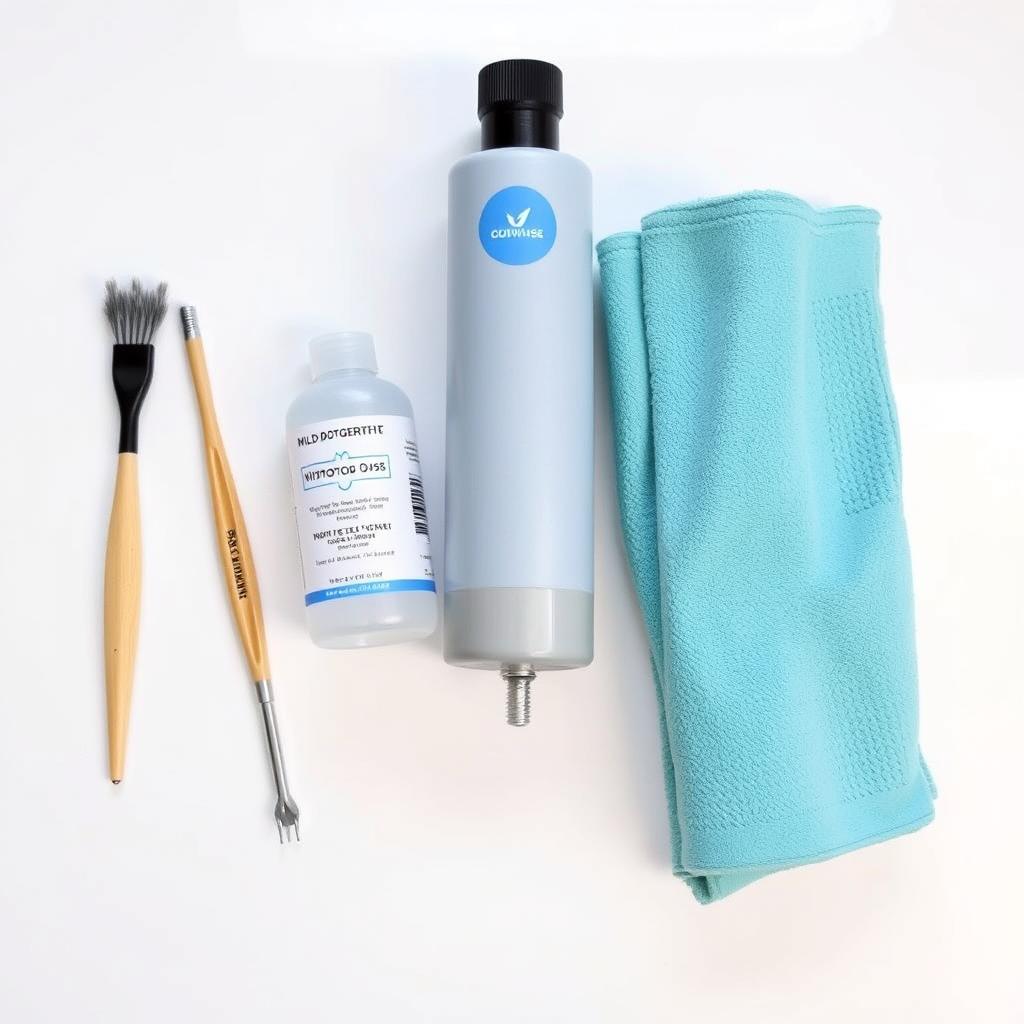
- Use the included cleaning brush for narrow spaces and tips
- Pay special attention to the gasket and valve areas
- For stubborn residue, soak in warm soapy water
- Rinse thoroughly to remove all soap
- Allow all parts to air dry completely before reassembly
NOTE: Some stainless steel dispensers are dishwasher-safe, but always check the manufacturer’s instructions. Aluminum dispensers and rubber gaskets should always be hand-washed.
Safe Storage Recommendations
- Store the dispenser disassembled if not in regular use
- Keep in a cool, dry place away from direct sunlight
- Store N2O cartridges at room temperature (below 70°F/21°C)
- Keep cartridges away from heat sources and open flames
- Store all components out of reach of children
- For long-term storage, place a paper towel inside the canister to absorb moisture
Troubleshooting Common Issues

No Gas Release When Attaching Cartridge
What causes this issue?
This typically occurs when the cartridge isn’t properly punctured or there’s an issue with the piercing mechanism.
- Check if the cartridge is inserted correctly (narrow end up)
- Ensure the charger holder is properly aligned
- Verify that the piercing pin isn’t damaged or bent
- Try tightening the charger holder more firmly
Leaking Gas Around Head Assembly
How do I fix gas leaks?
Gas leaks typically indicate a problem with the seal between components.
- Check the gasket for damage or wear (replace if necessary)
- Ensure the head is properly threaded and tightened
- Verify that no cream or ingredients are caught in the threads
- Make sure all components are completely dry before assembly
Inconsistent or Poor Dispensing
Why isn’t my cream dispensing properly?
Inconsistent results can stem from several factors:
- Insufficient shaking (shake vigorously 10-15 times)
- Clogged decorating tip (clean thoroughly)
- Ingredients too warm (refrigerate before use)
- Incorrect fat content (use heavy cream with 36-40% fat)
- Dispenser not held upside down while dispensing
Difficulty Removing Head After Use
What should I do if the head is stuck?
A stuck head assembly can be frustrating but is usually solvable:
- Ensure the dispenser is completely depressurized
- Run warm water over the threaded area
- Use a rubber grip pad for better traction
- Never use tools that could damage the threads
- If still stuck, let it sit in warm water for 5-10 minutes
Legal Restrictions and Health Warnings

LEGAL NOTICE: In many jurisdictions, nitrous oxide cartridges may only be sold to and used by individuals 18 years or older. Some regions require specific documentation for purchase. It is illegal to use nitrous oxide for recreational purposes or “huffing.” Check your local laws before purchasing.
Health Risks of Misuse
Misuse of nitrous oxide can lead to serious health consequences:
- Vitamin B12 depletion leading to nerve damage
- Oxygen deprivation and asphyxiation
- Frostbite from contact with the cold gas or cartridge
- Addiction and psychological dependence
- Disorientation and impaired judgment
- In extreme cases, death from oxygen deprivation
Intended Use Statement
“Nitrous oxide cartridges are designed exclusively for culinary purposes in properly designed dispensers. Any other use, including inhalation or recreational use, is dangerous, potentially illegal, and strongly discouraged.”
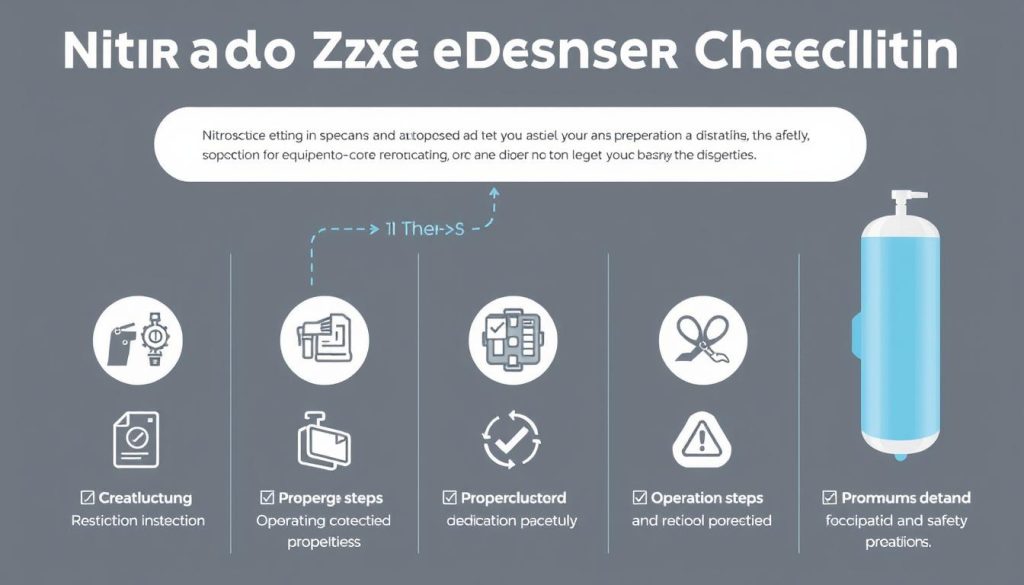
Visual Safety Checklist

| Safety Step | Before Each Use | Weekly | Monthly |
| Inspect dispenser for damage | ✓ | ||
| Check gasket integrity | ✓ | ||
| Verify ventilation | ✓ | ||
| Clean decorating tips | ✓ | ||
| Deep clean all components | ✓ | ||
| Check piercing mechanism | ✓ | ||
| Inspect valve function | ✓ | ||
| Replace gasket | ✓ |
Get Your Complete Safety Kit
Download our comprehensive safety package including checklists, maintenance schedules, and troubleshooting guides.
Conclusion
Mastering the safe use of a nitrous oxide dispenser opens up a world of culinary possibilities, from professional-quality whipped cream to innovative foams and mousses. By following the guidelines in this beginner’s guide, you can ensure both your safety and optimal results.
Remember that proper preparation, careful operation, and thorough cleaning are the keys to success with your dispenser. Always prioritize safety by using the correct equipment, maintaining good ventilation, and following all legal requirements in your area.
With practice, your nitrous oxide dispenser will become an invaluable tool in your culinary arsenal, allowing you to create restaurant-quality desserts and innovative dishes in the comfort of your own kitchen.
REMEMBER: Nitrous oxide dispensers are designed exclusively for culinary purposes. Always use food-grade N2O cartridges, follow manufacturer instructions, and never use for any purpose other than food preparation.


