Creating perfect, fluffy toppings for your favorite desserts just got easier. This guide explores how to achieve professional results using modern dispensing systems. We focus on methods that save time and money while delivering superior quality.
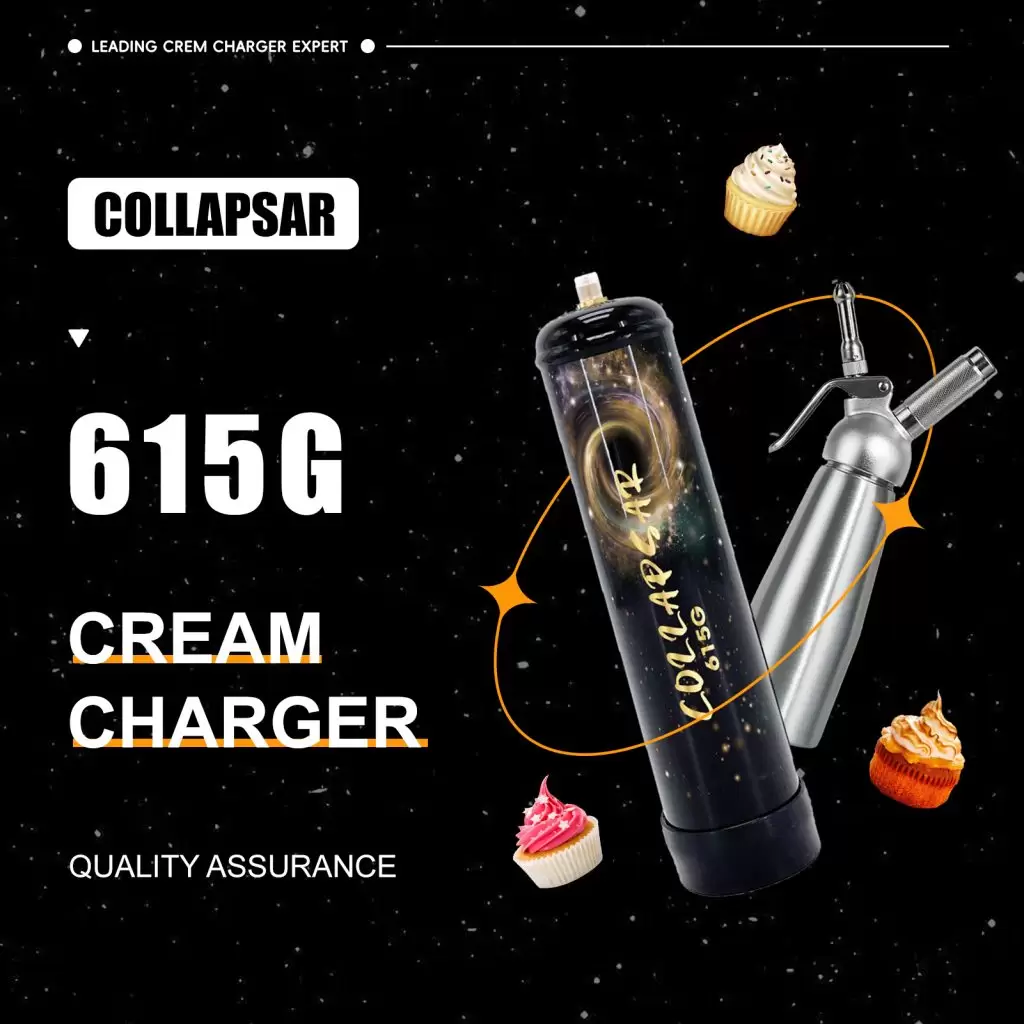
COLLAPSAR Gas leads the industry with its commitment to purity and value. The company provides 100% food grade nitrous oxide, ensuring your creations taste pure and delicate. This focus on quality makes every dessert exceptional.
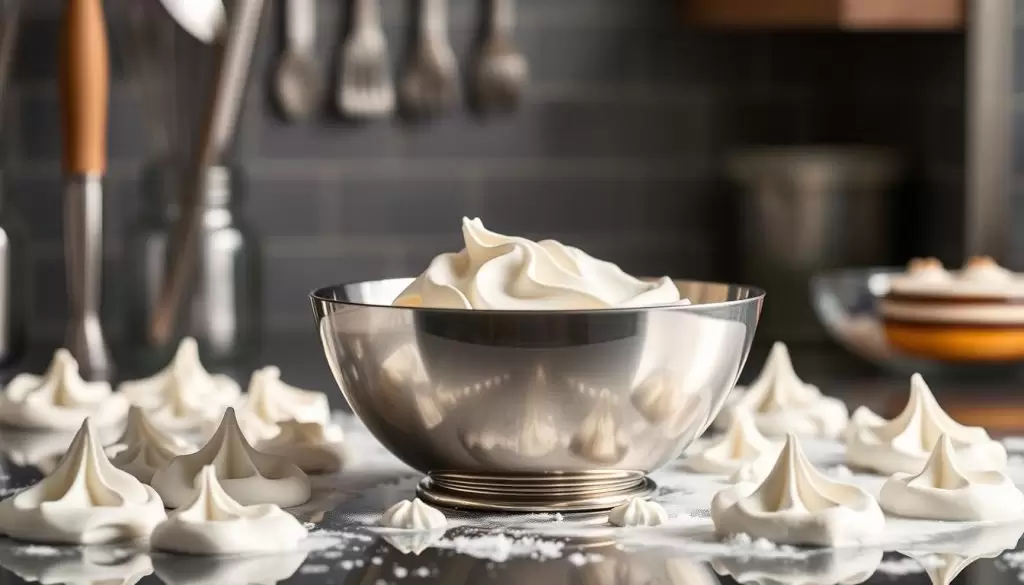
Using a dispenser system is a game-changer for home cooks and professionals. It transforms a once tedious task into a quick, enjoyable process. The results are consistently smooth and stable, ideal for everything from coffee drinks to elaborate pastries.
One of the biggest advantages is cost efficiency. Homemade versions cost significantly less than store-bought aerosol cans. This approach offers long-term savings, making it a smart choice for frequent users.
This comprehensive guide will walk you through everything. You’ll learn about N2O quality, step-by-step preparation, recipe ideas, and equipment care. Our goal is to help you master the technique for stunning results every time.

Key Takeaways
- Modern dispensing systems simplify creating high-quality toppings for desserts.
- COLLAPSAR Gas emphasizes 100% food grade nitrous oxide for purity and safety.
- This method is efficient and accessible for both beginners and experts.
- Homemade versions offer substantial cost savings over store-bought options.
- Proper technique and quality equipment are key to achieving professional results.
- The guide covers preparation, recipes, and maintenance for optimal use.
Understanding COLLAPSAR Gas and Premium N2O Quality
Premium nitrous oxide represents the critical component separating amateur results from professional-grade creations. The gas quality directly impacts texture, stability, and taste.
COLLAPSAR’s Commitment to 100% Food Grade Nitrous Oxide
COLLAPSAR maintains rigorous quality control standards for their 100% food grade nitrous oxide. Purity remains the highest priority, ensuring customer safety and product excellence.
The company’s superior gas processing eliminates impurities and unwanted odors. This results in a more pure and delicate final product that enhances culinary creations.
The Role of N2O in Superior Whipped Cream Preparation
Nitrous oxide dissolves in butterfat under pressure, forming bubbles when released. This scientific process creates the characteristic airy, fluffy texture professionals seek.
Quality N2O chargers achieve a remarkable expansion ratio. Nearly half a liter of whipping cream transforms into up to 1.5 liters of finished product.
Fat content proves essential for optimal results. Cream with at least 30% milk fat creates stable peaks, while heavy versions with 36% fat or above deliver superior texture.
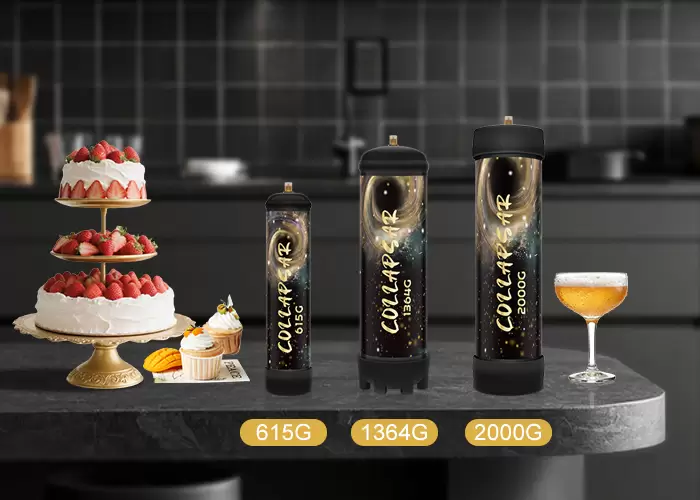
COLLAPSAR offers multiple tank sizes including 3.3L, 1L, and 2.2L options for different needs. Their wholesale program provides partnership opportunities for retailers seeking premium products.
How to Make Whipped Cream with Chargers
Achieving restaurant-quality results at home becomes simple when you understand the proper technique for using gas chargers. The entire process takes just two minutes from start to finish.
Basic Techniques for Perfect Whipping
Begin by removing the head of your cream dispenser. Fill the canister halfway with cold heavy whipping cream. Add powdered sugar and your preferred flavoring like vanilla or chocolate.
Replace the dispenser head securely. Insert the charger into the designated slot. Listen for the distinctive fizzy sound indicating successful gas release.
Hold the unit upside down and shake the handle for 5-10 seconds. This ensures even gas distribution throughout the mixture. The finished product will flow smoothly in seconds.
Safety Considerations When Charging Your Dispenser
Always read the manufacturer’s instruction manual before first use. This step helps you understand your equipment’s operational limits.
Never exceed recommended charger quantities. Use only one charger for 250-500ml units. For 1L dispensers, the maximum is two chargers.
These devices contain gas under high pressure. Attempting to pierce seals without proper equipment can cause serious injuries. Always dispense all pressurized air before opening the unit.
Keep chargers out of reach of children. Usage should be restricted to individuals 18 years and above. These products are designed exclusively for food preparation.
Ingredients and Equipment Overview
Proper ingredient selection and quality equipment form the cornerstone of successful whipped cream preparation. The right combination ensures optimal texture, stability, and flavor in your final product.
Three essential components create classic whipped cream. Heavy cream provides the rich dairy base with superior fat content for stable peaks. Powdered sugar adds sweetness while its cornstarch content enhances holding power.
Essential Tools and COLLAPSAR Product Options
Vanilla extract contributes aromatic warmth, though alternatives like paste or powder work equally well. For best results, always choose higher fat content options regardless of your base selection.
Dispenser sizing matters for household needs. A half-pint unit holds one cup of liquid, perfect for two-person households. Larger families benefit from pint-sized models for frequent use.
COLLAPSAR offers a complete equipment lineup for every requirement. The versatile 1L option suits home kitchens perfectly. Frequent users appreciate the 2.2L model, while professionals prefer the large-capacity 3.3L unit.
Accurate measurement ensures consistent results. Use liquid measuring cups to fill your dispenser to the indicated line. This prevents overfilling and guarantees optimal performance every time.
Step-by-Step Whipped Cream Preparation
With a total active time of just two minutes, this method is arguably the fastest way to prepare dessert toppings. The entire recipe is designed for efficiency, delivering consistent quality every time.
Mixing, Charging, and Dispensing Process
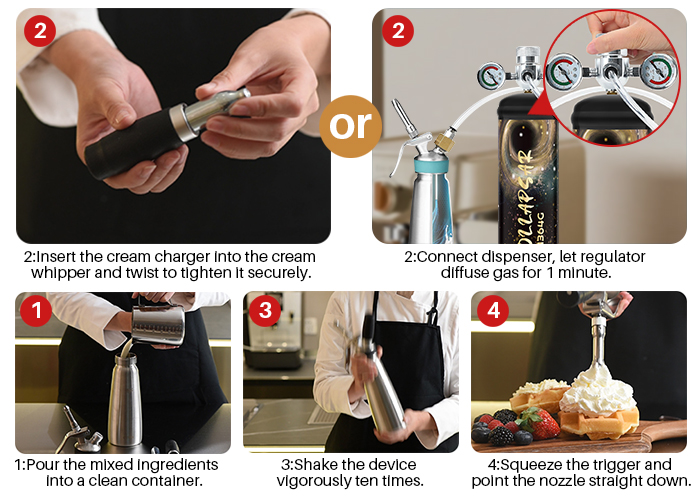
Begin your dispenser recipe by combining cold heavy whipping cream, powdered sugar, and vanilla extract in a large measuring cup. Whisk the mixture until it is completely smooth. This prevents any clumping and ensures a uniform base.
Carefully pour the blended ingredients into a clean dispenser. Securely screw the lid on tight to create a proper seal. This step is crucial for maintaining pressure.
Follow these steps for perfect results:
- Charge the Unit: Insert an N2O charger into the holder and screw it onto the lid. You will hear a distinct sound and feel the container turn cold.
- Distribute the Gas: Lay the dispenser on its side for one minute. This allows the gas to spread evenly.
- Shake the Dispenser: Vigorously shake the unit ten times. For firmer peaks, shake for an additional 5-10 seconds.
- Dispense with Control: Point the nozzle straight down and squeeze the trigger with steady, medium pressure.
After making whipped cream, remember to recycle the empty metal pod. Save the plastic cracker for future use. This simple cream dispenser recipe saves time and reduces waste.
Expert Tips and Tricks for Cream Dispensing
Mastering professional techniques elevates your dessert presentations significantly. These advanced methods ensure reliable performance from your equipment.
Maintaining Optimal Temperature and Safety
Temperature control remains absolutely critical for success. Keep your whipping cream below 50°F to maintain proper fat structure.
Refrigerate your dispenser constantly to preserve freshness. Use contents within 7-10 days for optimal quality and safety.
Always choose fresh dairy products for best results. Powdered alternatives won’t achieve the desired texture.
Safety protocols prevent messy accidents. Dispense all pressurized air before opening the unit.
Dispenser Maintenance for Consistent Results
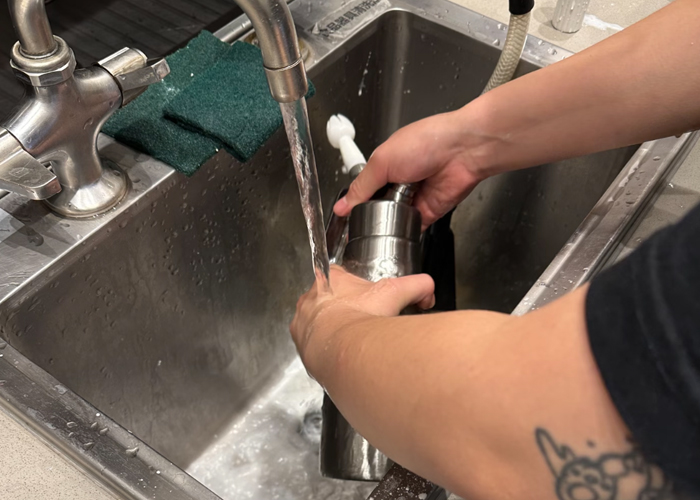
Regular cleaning prevents clogging and ensures smooth operation. Rinse the nozzle thoroughly after each use.
Periodically remove the nozzle to clean the attachment area. This prevents solidified residue from blocking the mechanism.
Shake the container well before each application. This redistributes the mixture for consistent texture.
If your creation turns runny after a couple of days, simply recharge the unit. The gas will restore the fluffy consistency.
Proper maintenance extends your equipment’s lifespan. Follow these steps for professional outcomes every time.
Exploring Recipe Variations for Whipped Cream Dispensers
Unlock creative potential by experimenting with diverse flavor combinations for your toppings. The basic formula serves as a versatile foundation for countless delicious adaptations.
Classic Vanilla and Sugar Alternatives
Start with the essential vanilla recipe: 2 cups heavy cream, ¼ cup powdered sugar, and 1 teaspoon vanilla extract. This balanced combination delivers perfect sweetness and flavor.
Customize sweetness levels to your preference. Use about 1 tablespoon of powdered sugar per cup of cold cream. For alternative sweeteners, consider maple syrup, honey, or sugar-free options.
Creative Flavor Blends and DIY Mix-Ins
Transform your dessert presentations with imaginative flavors. Chocolate variations use 1-2 tablespoons of unsweetened cocoa powder. Coffee enthusiasts can add instant espresso for rich notes.
Experiment with spiced creations using cinnamon or pumpkin pie spice. Fruity alternatives incorporate freeze-dried fruit powders. Peanut butter lovers will enjoy powdered peanut butter blends.
Dietary Considerations: Vegan and Sugar-Free Options
Accommodate various nutritional needs with simple substitutions. Plant-based whipping creams work beautifully for vegan diets. Sugar-free syrups provide sweetness without added sugars.
Full-fat coconut milk creates excellent dairy-free alternatives. These adaptations ensure everyone can enjoy delicious toppings regardless of dietary restrictions.
Benefits of Using 100% Food Grade N2O Chargers
The financial and culinary benefits of using premium gas systems extend far beyond initial expectations. These tools transform dessert preparation into an economical and creative process.
Cost Efficiency and Unparalleled Quality
Home preparation offers significant savings over commercial options. A detailed analysis reveals the true value proposition.
| Cost Component | Homemade (per ounce) | Store-Bought (per ounce) |
|---|---|---|
| Base Ingredients | $0.19 | $0.32 |
| Gas/Aeration | $0.05 | $0.08 |
| Flavorings | $0.03 | $0.02 |
| Total Cost | $0.27 | $0.42 |
COLLAPSAR maintains 100% food grade standards while sharing competitive pricing. Their superior gas processing eliminates impurities for delicate results.
The airtight sealing preserves freshness for 5-7 days. This extends shelf life and reduces food waste.
Advanced aeration technology allows creative recipe experimentation. Aerated mixtures adhere better to food items, enhancing flavor delivery.
Proper fat content ensures stable texture that maintains structure longer than commercial alternatives. The initial equipment investment pays for itself quickly through ongoing savings.
Conclusion
The journey to perfect dessert toppings culminates in understanding the complete system. Professional-quality results become achievable at home in just two minutes, eliminating the mess of traditional mixers.
COLLAPSAR Gas stands as the premier provider of top nitrous oxide tanks and dispensers. Their unwavering commitment to 100% food grade N2O ensures the highest purity standards for delicate, pure results.
The advanced gas processing technology eliminates impurities and unwanted odors. This superior quality enhances rather than detracts from any dessert application.
Homemade versions preserve nutritional value, maintaining protein and vitamin content through proper fat selection. The comprehensive value proposition includes competitive pricing and complete product ranges for every need.
Explore COLLAPSAR’s product line to transform your culinary creations. Elevate your dessert game with systems that save time while delivering consistently superior results.
FAQ
What is the difference between a cream dispenser and a standard mixer?
A dispenser uses pressurized gas, like COLLAPSAR’s 100% food grade nitrous oxide, to aerate and whip the mixture instantly. A standard mixer incorporates air through mechanical whipping, which takes more time and can result in a less stable foam.
How long does homemade whipped cream last in a dispenser?
When prepared correctly and kept refrigerated, your creation can remain fresh and fluffy for up to two weeks. The pressurized environment inside the dispenser helps preserve its quality far longer than traditional methods.
Can I use any type of cream in my dispenser?
A> For best results, always use heavy whipping cream with a high fat content, typically around 36-40%. Lower-fat alternatives may not achieve the desired consistency or stability after charging with an N2O charger.
Is it safe to use nitrous oxide chargers for food preparation?
Yes, when you use 100% food-grade N2O from a reputable brand like COLLAPSAR, it is entirely safe. These products are specifically manufactured and purified for culinary applications, ensuring no contaminants are present.
What are some creative flavor variations I can try?
Beyond classic vanilla, you can infuse your dessert topping with cocoa powder, citrus zests, espresso, or liqueurs. For dietary needs, sugar-free sweeteners and plant-based creams offer excellent vegan and low-carb options.
Why is my dispenser not producing stiff peaks?
This is often due to the cream being too warm. Ensure all ingredients and the dispenser itself are thoroughly chilled. Also, verify you are using the correct amount of COLLAPSAR gas chargers for your dispenser’s size.
How do I clean and maintain my whipped cream dispenser?
After each use, disassemble the unit and wash all parts that contact food with warm, soapy water. Ensure everything is completely dry before reassembling. Regular maintenance prevents clogging and ensures consistent performance.