Creating a light, fluffy dessert topping at home can sometimes lead to disappointment. The mixture may lack body or lose its airy texture too quickly. This leaves a flat result that doesn’t live up to its potential.
The issue often starts with the core ingredients and the whipping process. Using high-fat dairy is essential for a rich mouthfeel. The science of incorporating air, known as aeration, is what gives the foam its structure.
Culinary experts note this freshness is ephemeral. For best results, it’s typically made at the last minute. However, with specific methods, you can stabilize it to last much longer.
This guide explores the common pitfalls that cause a lackluster finish. We’ll provide clear steps to achieve a stable, delicious result every time. Mastering these techniques will elevate any dessert you serve.
Key Takeaways
- Ingredient quality, especially the fat content in dairy, is the foundation for flavor and texture.
- Proper aeration during whipping creates the stable, light foam that defines a great topping.
- Stabilization methods can extend the shelf life of your creation for up to 48 hours.
- Freshness peaks shortly after whipping, so timing is a key factor for the best experience.
- Temperature control of your tools and ingredients is crucial for successful preparation.
- Mastering a few professional techniques ensures consistent, restaurant-quality results at home.
Understanding Flat-Tasting Whipped Cream
Achieving that perfect, airy consistency requires understanding where things often go wrong. A lackluster dessert topping typically results from a few specific errors during preparation.
Common Causes of a Flat Taste
The primary culprits are easy to identify. Using low-fat dairy is a major one. The fat in heavy cream is essential for trapping air.
Insufficient aeration during the beating process is another issue. This leads to a dense, heavy foam. The goal is to incorporate millions of tiny air bubbles.
Overwhipping is the most common mistake. It breaks down the stable foam of milk fat and air pockets. The air escapes, and the texture turns clumpy.
| Cause | Effect on Texture | Prevention Tip |
|---|---|---|
| Low-Fat Cream | Weak structure, thin foam | Use heavy cream with at least 36% fat |
| Under-Whipping | Dense, runny, lacks volume | Whip until soft peaks just form |
| Over-Whipping | Grainy, curdled, deflated | Stop mixer as soon as peaks hold shape |
Beginners should try whipping by hand to recognize the stages of development. It builds an intuitive feel for when the cream is ready.
Impact of Ingredient Quality and Overwhipping
High-quality ingredients are non-negotiable. Premium heavy cream has the fat content needed to hold air bubbles. This creates a light, delicate mouthfeel.
Overwhipping has a severe impact. If the mixer runs too long, the cream deflates. It becomes a yellow, paste-like substance.
This is the point of no return for your fluffy creation. The flavor becomes muted. The texture is irreversibly damaged.
Essential Ingredients and Tools for Perfect Whipped Cream
Success begins long before the mixer is turned on. Careful attention to ingredient quality and tool preparation is non-negotiable.
This foundation ensures a stable, flavorful foam every single time.
Choosing the Right Cream, Vanilla, and Sugars
Selecting the correct heavy cream is your first critical step. The fat content, ideally above 36%, provides the structure for trapping air.
A standard ratio is one cup of cream to one tablespoon of granulated sugar. Add one teaspoon of pure vanilla extract. Precise measurement balances sweetness with the dairy’s natural richness.
High-quality vanilla provides an aromatic depth. It prevents the final product from tasting bland or one-dimensional.
Proper Chilling and Equipment Use
Temperature control is paramount. Always start with a thoroughly chilled metal or glass bowl.
Keep your heavy cream and other ingredients cold until the last moment. A clean whisk or beater attachment allows you to monitor the cream’s transformation closely.
Exact whipping time depends on quantity and your equipment’s speed. The goal is to maintain the mixture’s structural integrity from start to finish.
Exploring Stabilization Techniques for Whipped Cream
Professional bakers rely on specific additives to keep their whipped creations firm for hours. These methods prevent a deflated texture and preserve flavor.
You can prepare dessert garnishes well before serving. This is crucial for event planning and stress-free entertaining.
Powdered Sugar and Cornstarch Methods
Confectioners’ sugar is a popular choice. It contains cornstarch, which acts as a thickener.
Adding one tablespoon to a cup of cream provides stability for about twelve hours. This is a simple way to stabilize whipped cream for short-term needs.
The cornstarch absorbs moisture. It helps maintain the foam’s delicate structure in the fridge.
Milk Powder, Marshmallow, and Pudding Mix Options
Nonfat milk powder adds protein. This can extend shelf life to a full day without changing taste.
Marshmallows contain gelatin, a natural stabilizer. Melting a few into the mixture offers about twenty-four hours of hold.
Instant pudding mix is a professional secret. Combine one tablespoon with powdered sugar for a cream that lasts two days.
Pure gelatin is the most effective for long storage. It requires careful preparation to avoid lumps.
| Stabilization Method | Key Ingredient | Approximate Duration | Best For |
|---|---|---|---|
| Powdered Sugar | Cornstarch | Up to 12 hours | Quick, same-day use |
| Nonfat Milk Powder | Milk Protein | Up to 24 hours | Neutral flavor needs |
| Marshmallows | Gelatin | Up to 24 hours | Adding subtle sweetness |
| Instant Pudding Mix | Modified Food Starch | Up to 48 hours | Make-ahead desserts |
| Pure Gelatin | Gelatin | Several days | Long-term stability |
Each technique creates a stabilized whipped product suitable for different timelines. Choose based on your schedule and desired flavor profile.
Dealing with Overwhipped or Curdled Cream
Rescuing a batch that has been beaten beyond soft peaks is often possible with a simple trick. This common error doesn’t have to ruin your dessert plans.
Quick Fixes for Overwhipped Cream
If your mixture becomes dense, do not panic. You can often save it by adding a small amount of cold, unwhipped heavy cream.
With the mixer running at low speed, slowly drizzle in the additional liquid. This careful mixing process can restore a light, cloud-like texture.
You may need to add 25% to 50% of the original amount to fully correct the batch. Patience during this step is key.
Tips to Prevent Overwhipping in the Future
Vigilance is your best tool. The transition from perfect to overworked happens in just 15 to 20 seconds.
Never walk away from an active mixer. The change from soft peaks to curdled butter is rapid.
- Closely monitor the tracks left by your whisk or beaters. Stop as soon as peaks hold their shape.
- If separation into butter and buttermilk occurs, embrace the result. Use the fresh butter for other recipes.
Understanding this delicate balance makes consistent success much easier. Proper timing prevents future whipping errors.
Enhance Your Cream’s Flavor with Superior Gas Quality from Collapsar
The purity of your gas source is a critical, yet often overlooked, factor in crafting exceptional dessert toppings. Impurities in lower-grade nitrous oxide can introduce flat, metallic notes that ruin a delicate foam.
Collapsar provides unparalleled quality. Their superior gas ensures processed cream is free from impurities and odors.
The result is a taste that is more pure and delicate. This fundamental upgrade elevates every batch of whipped cream you create.
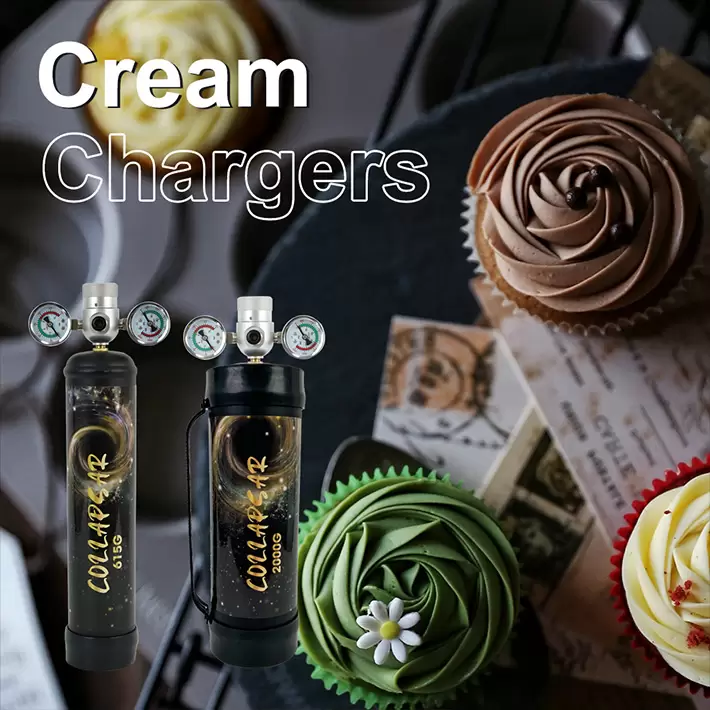
Product Spotlight: Collapsar 3.3L 2000G Whip Cream Chargers
For high-volume needs, the Collapsar 3.3L 2000G N2O tank is an excellent choice. It delivers consistent pressure for perfectly stabilized whipped cream results.
Professional chefs rely on this model. It guarantees their whipped cream maintains its structure without any chemical aftertaste.
You can explore the Collapsar 3.3L 2000G for your kitchen. It’s built for durability and performance.
Exploring Additional Options: Collapsar 1L 615G and 2.2L 1364G
Smaller batches require precision. The Collapsar 1L 615G and 2.2L 1364G options offer the same high-quality gas in a compact size.
These models are perfect for home bakers or cafes with moderate demand. They provide the same impurity-free charge for a flawless stabilized whipped cream.
Consider the 1L 615G or the 2.2L 1364G for manageable, consistent results.
Investing in this superior gas quality is the most effective way to eliminate off-flavors. Your dessert cream will always taste clean and refined.
Step-by-Step Guide to Achieving Perfect Texture
The journey from liquid to a voluminous foam is defined by two key stages: soft and stiff peaks. Mastering this transformation ensures your dessert topping has the ideal body for any application.
This process relies on visual cues and precise control. Following a clear recipe with measured ingredients is your first step.
Mixing Techniques for Soft and Stiff Peaks
Achieving cream soft peaks is the initial milestone. At this stage, the mixture is light and pourable.
It’s perfect for drizzling over fresh fruit. Continue the whipping process to reach firm peaks.
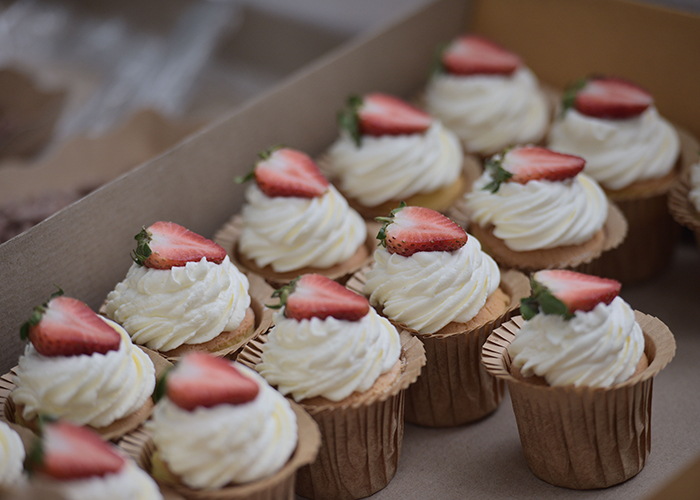
These stiff peaks hold their shape firmly. They are ideal for piping onto cakes.
For one cup heavy whipping cream, you’ll yield about two cups of finished product. Observing the cream soft peaks develop is the best way to learn.
Try whipping by hand to see the change clearly.
Timing and Temperature Guidelines
Soft peaks form much faster than stiff ones. Your total whipping time is critical.
Always start with thoroughly chilled cream. Keep your cup heavy whipping cream cold until the moment you use it.
This keeps the fat molecules stable. Warm ingredients will create a flat, runny result.
Temperature control is non-negotiable for structure. Following these guidelines guarantees the perfect texture every time.
Innovative Tips to Extend Whipped Cream Freshness
Advanced stabilization techniques can transform a perishable foam into a make-ahead component. This allows you to prepare your dessert topping days in advance without losing its airy texture.
Moving beyond basic sugars, several ingredients offer superior holding power. They integrate seamlessly into your favorite dessert recipes.
Using Gelatin, Yogurt, and Alternative Stabilizers
Gelatin is the most effective agent for long-term needs. It can keep your stabilized whipped cream firm for up to 48 hours.
You must temper it first. Mix a small amount of cold cream into the bloomed gelatin before adding it to the main bowl.
For a tangy twist, Greek yogurt works well. Combine a quarter cup with a tablespoon of powdered sugar to add sugar and stability. This mixture holds for about twelve hours.
It’s perfect for topping berry shortcakes.
Creative Flavor Enhancements for Lasting Freshness
Flavor additions can also improve structure. Chocolate is a great example.
Adding cocoa powder or a chocolate pudding mix creates a delicious stabilized whipped variation. The extra solids help the foam last.
Always store your creation in an airtight container. This prevents odor absorption in the refrigerator over several days.
If the topping sits for many hours, a quick 30-second re-whisk restores its perfect texture. This simple step revives your stabilized whipped cream before serving.
Why Homemade Whipped Cream Tastes Flat and How to Improve Flavor
Beyond achieving the right texture, the true artistry lies in crafting a nuanced flavor profile. A great dessert topping should complement your main dish, not just sit on top of it.
Understanding Flavor Profile Adjustments
Moving beyond plain sweetness is key. Simple granulated sugar provides sweetness but little depth.
Consider integrating ingredients like honey for floral notes. A hint of lemon zest adds bright, citrusy freshness.
Even a tiny pinch of salt is powerful. It enhances the natural sweetness of the dairy fats and balances the overall flavor.
Integrating High-Quality Ingredients for Enhanced Taste
Your foundation ingredients must be excellent. Pure vanilla extract and fresh, cold heavy cream are non-negotiable.
When you add sugar, ensure it dissolves fully in your chilled mixing bowl. This prevents a gritty texture in the final product.
For a rich, custard-like flavor and superior stability, a pudding mix is a clever choice. Adding one tablespoon per cup of cream can keep your whipped cream stable for up to 48 hours.
Similarly, a tablespoon of melted marshmallow fluff per cup adds subtle sweetness and helps the mixture hold its shape. These methods let you make whipped cream ahead of time without sacrificing quality.
Conclusion
Consistent success in your kitchen is achieved by synthesizing the core concepts of temperature control, aeration, and stabilization. This balance of high-quality ingredients and precise technique is the ultimate goal.
Whether you select gelatin, pudding mix, or another agent, each method extends your foam’s longevity. This allows you to prepare elegant toppings well in advance for any dessert.
Remember, purity is fundamental for pristine flavor. Superior tools and the knowledge to correct errors ensure your presentations are always beautiful.
Practice these principles to master the art of creating delicious, stable whipped cream for all your dessert recipes.
FAQ
How can I make my whipped cream hold its shape for days?
To create a stabilized whipped cream that lasts, incorporate a stabilizing agent. A teaspoon of unflavored gelatin dissolved in hot water and cooled, or a tablespoon of instant pudding mix folded into the soft peaks, works wonders. These ingredients help the structure maintain its volume and texture for up to 48 hours when refrigerated.
What is the best type of sugar to use for a smooth texture?
A: Powdered sugar is superior to granulated sugar. It dissolves instantly into the cold cream, preventing graininess. The small amount of cornstarch in most powdered sugar also acts as a mild stabilizer, helping your peaks stay firm longer without affecting the pure, sweet flavor.
Why did my cream turn grainy or curdled?
This is a classic sign of overwhipping. Once the cream passes stiff peaks, the fat globules clump together, separating from the liquid whey. To fix it, gently whisk in a splash of fresh, cold heavy whipping cream until the mixture becomes smooth again. Always whip on medium speed and check frequently to avoid this.
Can I use milk instead of heavy cream for whipping?
No, you cannot. The high fat content (at least 36%) in heavy whipping cream or heavy cream is essential for forming stable air bubbles and achieving those desirable soft or stiff peaks. Milk lacks the necessary fat and will not whip into a foam, remaining a liquid.
What’s the secret to getting more volume from my cream?
The key is temperature and equipment. Ensure your heavy whipping cream, mixing bowl, and whisk are thoroughly chilled for at least 15 minutes before starting. Cold fat whips faster and traps more air. Using a powerful stand mixer or hand mixer on medium-high speed will incorporate maximum air for a light, voluminous result.
How can I add flavors without making the cream runny?
Incorporate dry or concentrated flavorings. Use a high-quality vanilla bean paste or pure extract instead of a liquid-heavy imitation. For chocolate, fold in sifted cocoa powder or finely grated bar chocolate after forming soft peaks. Avoid adding liquid extracts, syrups, or fruit juices directly, as they can break down the foam’s structure.